Jesito


Joined: 24 Aug 2007
Posts: 5753
Location: Olivella, Catalonia, (Spain)
Expire: 2015-01-07
|
 Posted: Wed Aug 27, 2008 4:23 pm Post subject: Step by step disassembly of the Ihagee original EXA - I Posted: Wed Aug 27, 2008 4:23 pm Post subject: Step by step disassembly of the Ihagee original EXA - I |
 |
|
Jesito wrote:
Well, thanks to Attila that sent me a Ihagee EXA body I've been able to know more in detail how these nice cameras do work. Although I haven't been able to fix it yet, I know where the problem is, and I've been able to reach that point in the shutter mechanism.
For anyone interested, here are my findings on how to unassemble the EXA:
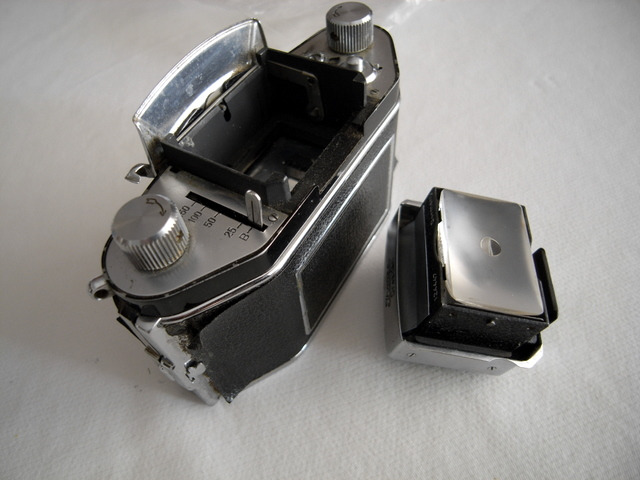
#1, Remove the viewfinder and the take-up spool. Set the shutter speed in the "B" position.
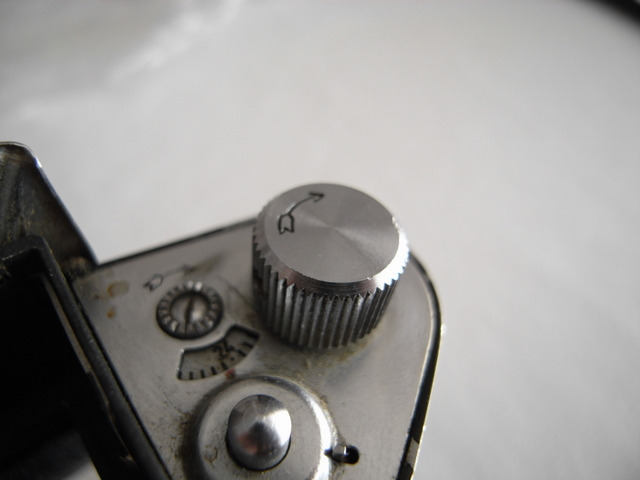
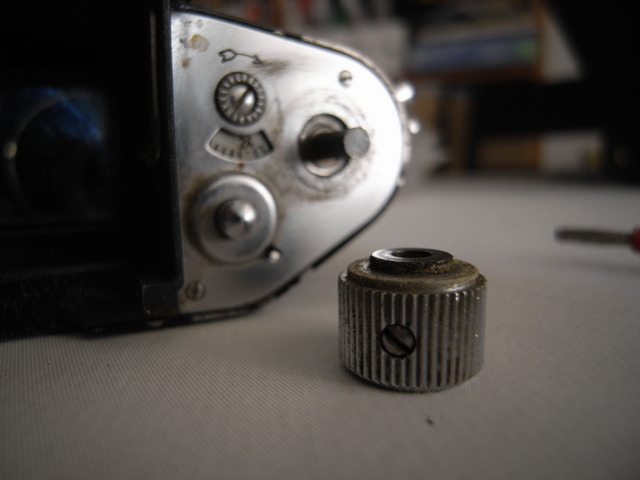
#2, Remove the right side winding know by loosening the screw in its side
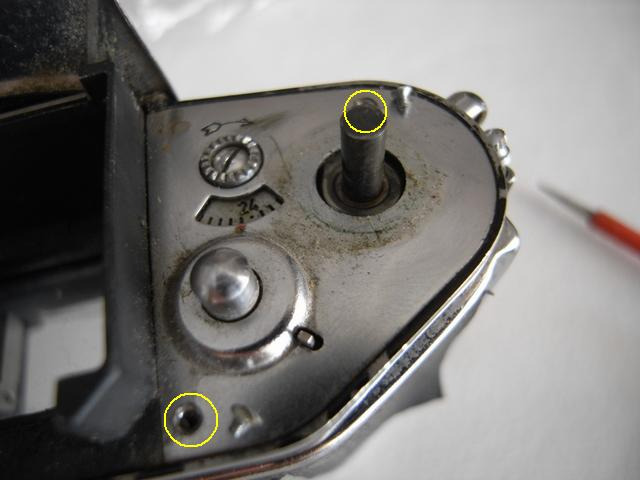
#3, Remove the two screws that hold the top plate
#4, Pull out the top right plate. If you're going to fix some mechanism inside, better place again the winding knob in its place..
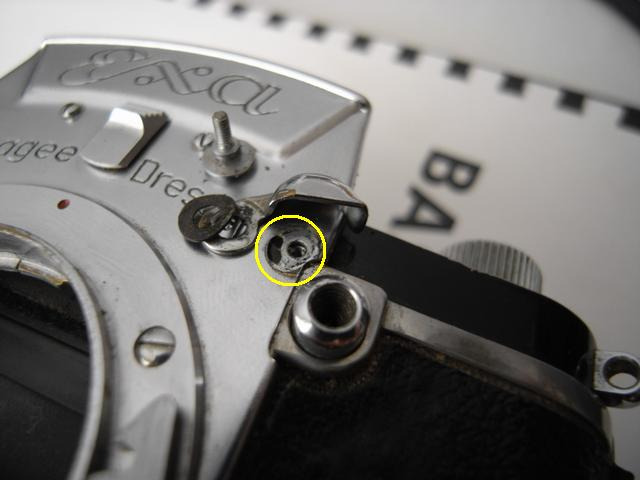
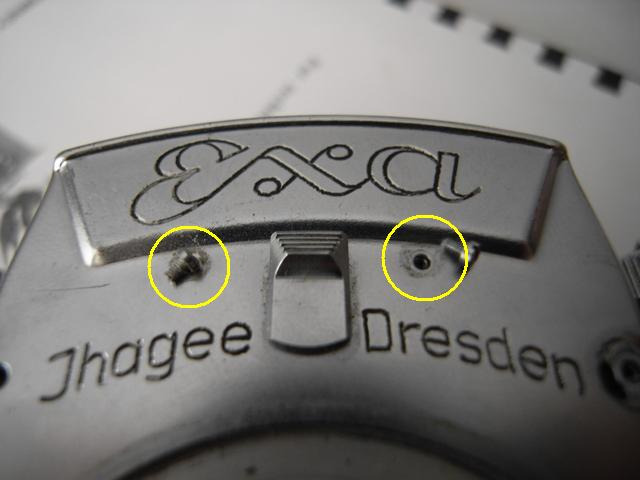
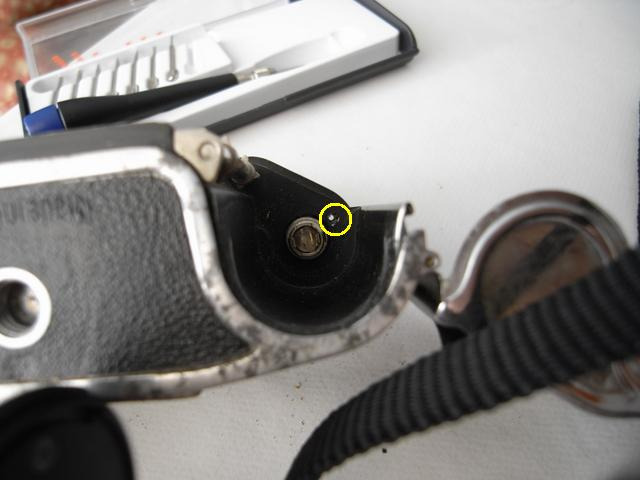
#5, Go to the front side and take out the shutter blocker by removing the screw in the middle.
#6, Take out the four screws that support the lens base and take it out
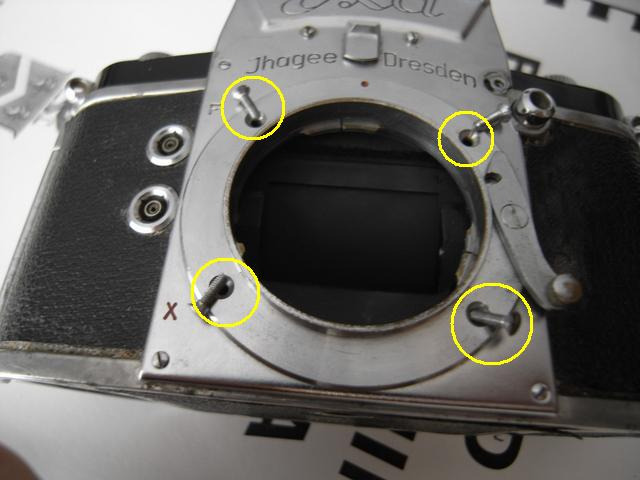
#7, And take out also the three remaining screws that hold the front plate in place (bottom corners and top left corner).
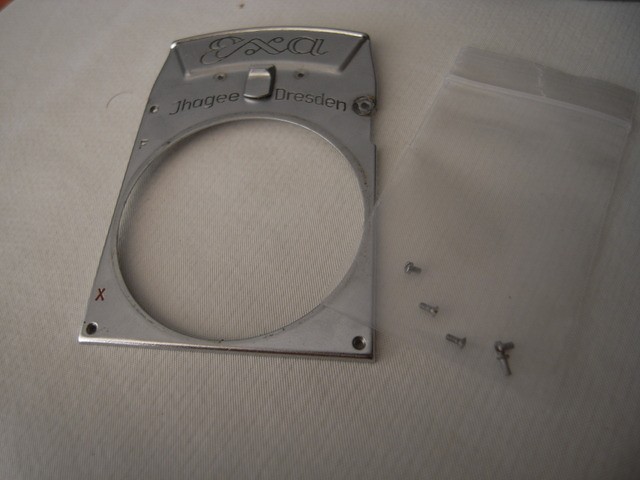
#8, There are two additional screws on top of the front plate that have to be removed as well
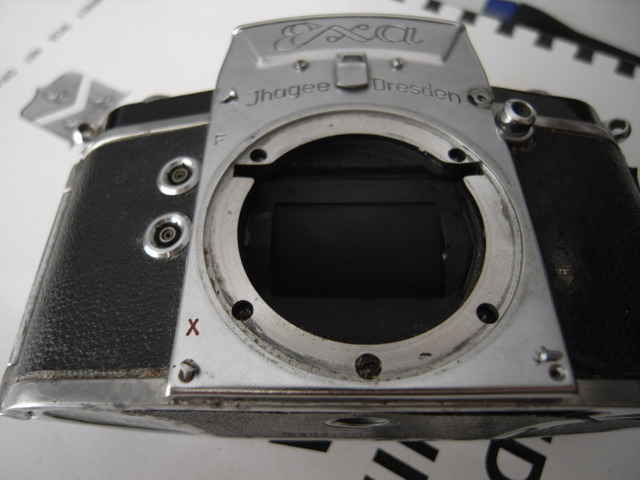
#9, Now you can pull out the front plate.
#10, There is still a last screw to remove under the top plate. This one fixes the inside mechanics block to the case.
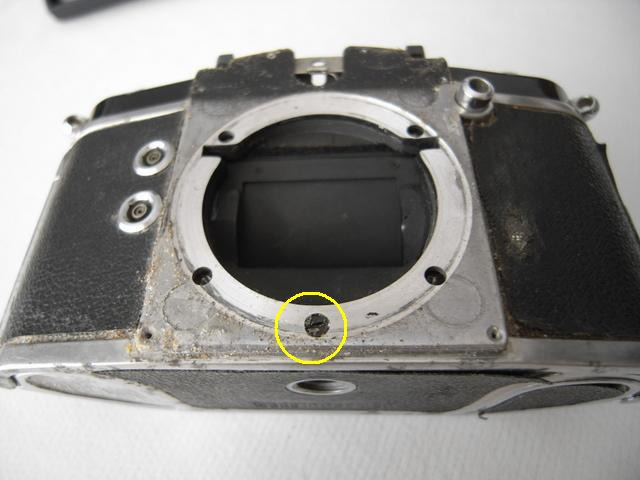
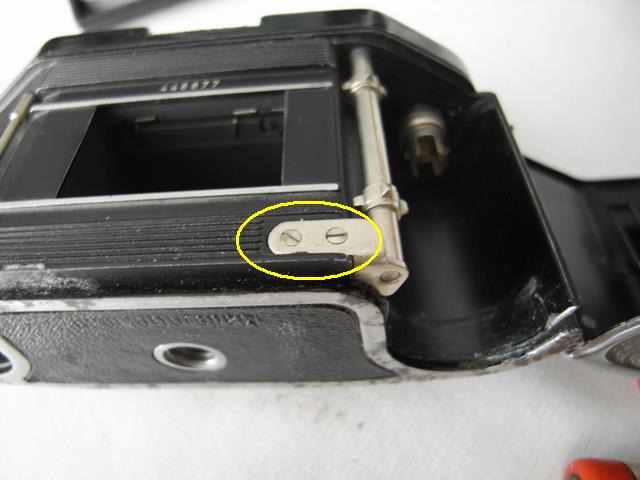
#11, Finally, remove the two screws inside the camera film holders.
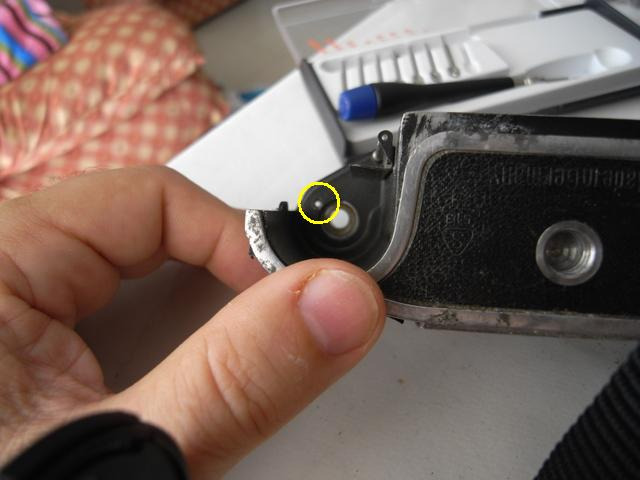
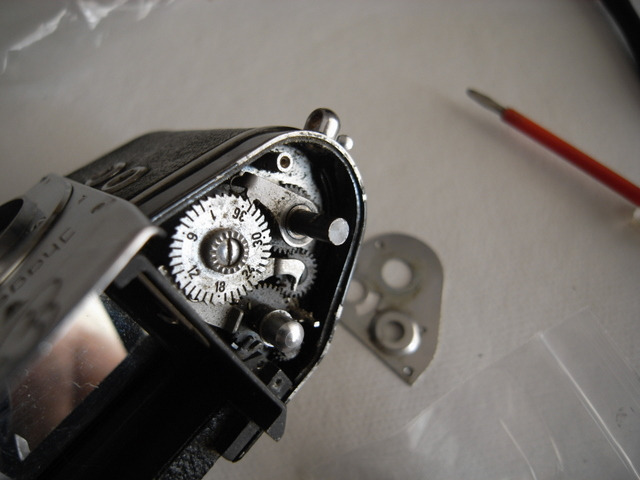
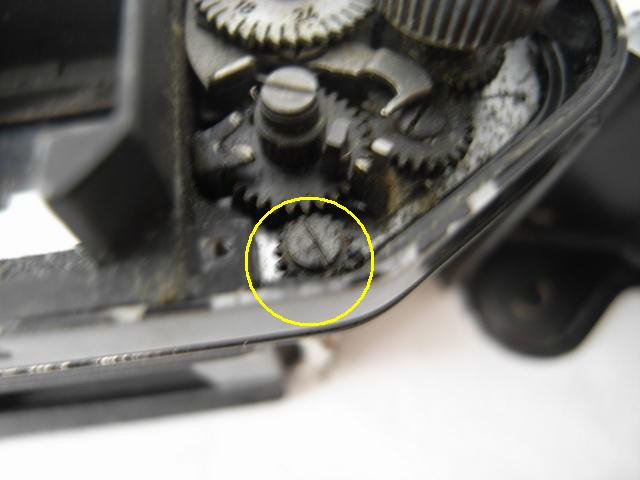
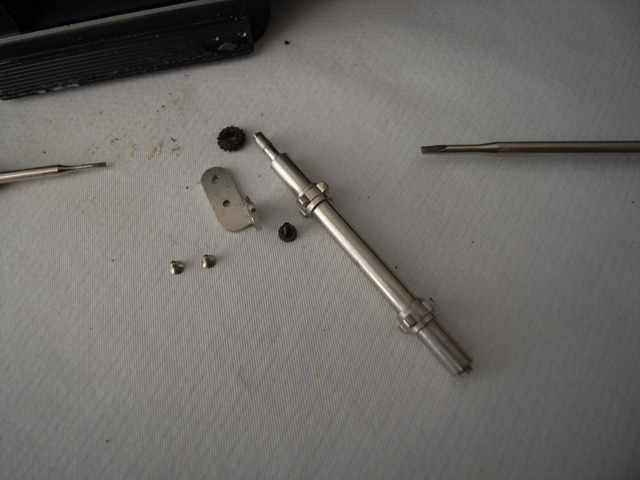
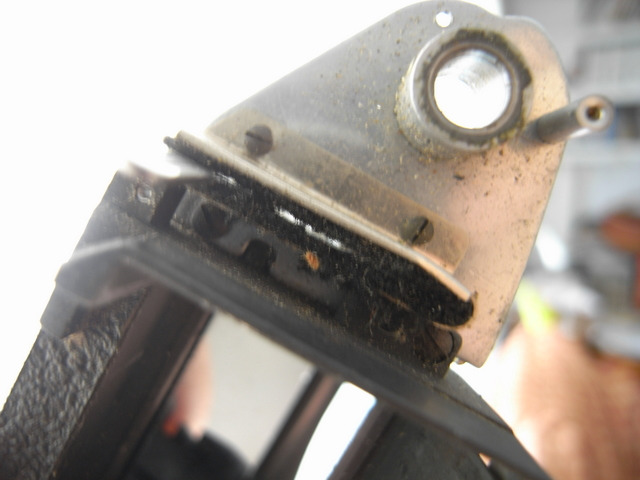
#12, Now, before the internal mechanism can be pulled up it's necessary to remove the film sprocket taking out the two screws on bottom and the top screw that fixes a small gear
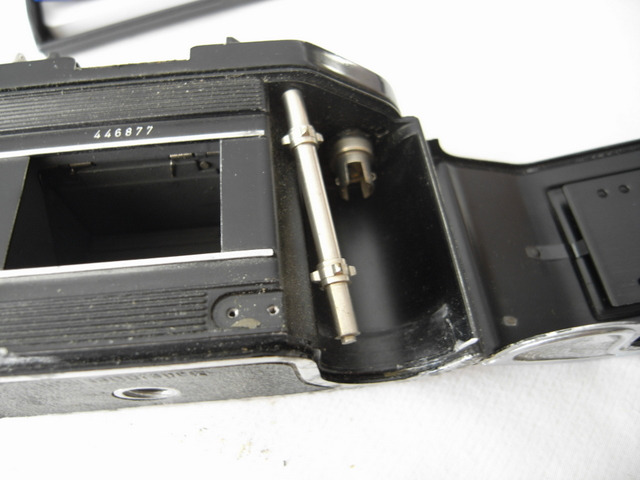
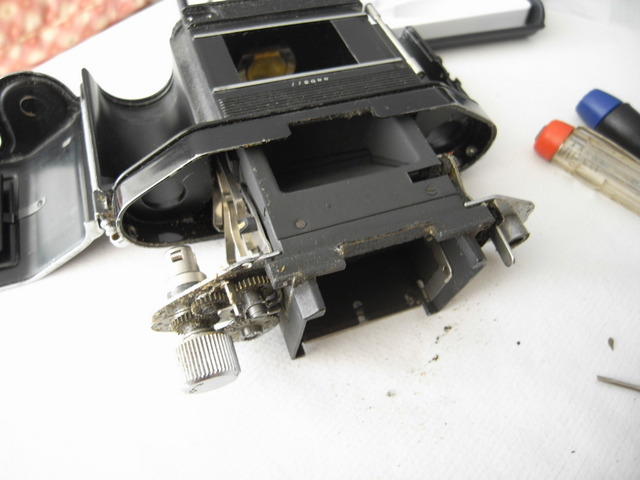
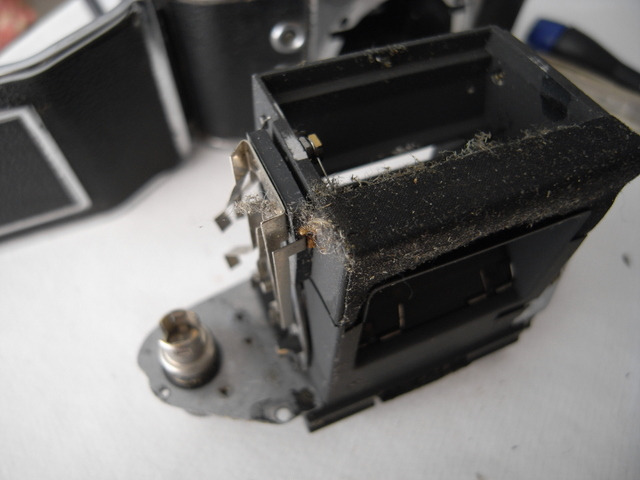
#13, So now the internal block should be free and removable from the camera top:
And that's all. It's not needed to disassemble the top left plate (I found it too late  ). ).
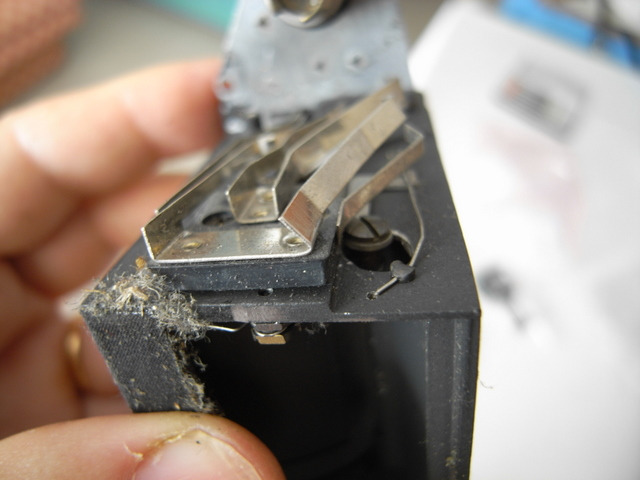
Some views, before cleaning and investigating the problem:
Special thanks to Carsten that helped a lot in translating some obscure german words that were making the text ununderstandable to me.
That's all by now.
Jes.
_________________
Jesito, Moderator 
Jesito's backsack:
Zooms Sigma 70-300, Tamron 35-135 and 70-210 short, 70-210 long, 28-70 CF Macro, 35-70, 35-80, Vivitar 70-210 KA, Tamron 70-250.
Fixed Industar-50, , Tamron 24mm, Tamron 135mm, Sands Hunter 135mm, Pancolar 50mm, Volna-3, many Exakta lenses
DSLR SIGMA SD9 & SD14, EOS 5D, Sony A700 and NEXF3, Oly E-330, E-400, E-450, E-1
TLR/6x6/645 YashicaMat, Petri 6x45, Nettar, Franka Solida, Brilliant
SLR Minolta X300, Fuji STX II, Praktica VLC3, Pentax P30t, EXA500, EXA 1A, Spotmatic(2), Chinon CM-4S, Ricoh, Contax, Konica TC-X , Minolta 5000, 7000i, 3Sxi, EOS 500 and CX
Rangefinders Chinon 35EE, Konica C35 auto, Canonet 28, Yashica Lynx, FED-2, Yashica electro 35, Argus C3 & C4, Regula Cita III, Voigtlander Vitoret (many), Welta Welti-I, Kodak Signette 35, Zorki-4, Bessa-R & L, Minolta Weathermatic, olympus XA2
Compact Film Konica C35V, Voigtlander Vitorets, Canon Prima Super 105, Olympus XA2 and XA3
Compact Digital Olympus C-5050, Aiptek Slim 3000, Canon Powershot A540, Nikon 5200, SIGMA DP1s, Polaroid X530, IXUS55, Kodak 6490, Powershot G9 and G10
CSCCanon EOS-M, Samsung NX100 and NX210, Lumix G5, NEX-F3
Last edited by Jesito on Thu Aug 28, 2008 1:34 pm; edited 2 times in total |
|