How to Build a DIY Kitchen Island
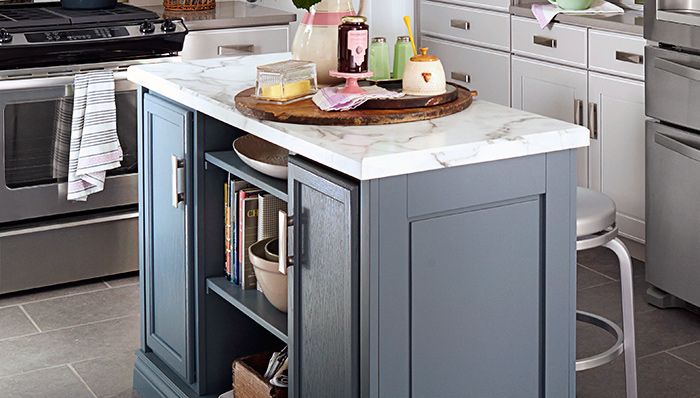
Table of Contents
Project Overview
Skill Level
Estimated Time
Estimated Cost
Instructions
Build the Case
From 3/4-inch-thick birch plywood, cut the bottom (C), back (D), and ends (E) using a circular saw and a straightedge.
Good to Know
For the following steps, after cutting each part to length, sand the part before you assemble it to speed the finishing process.
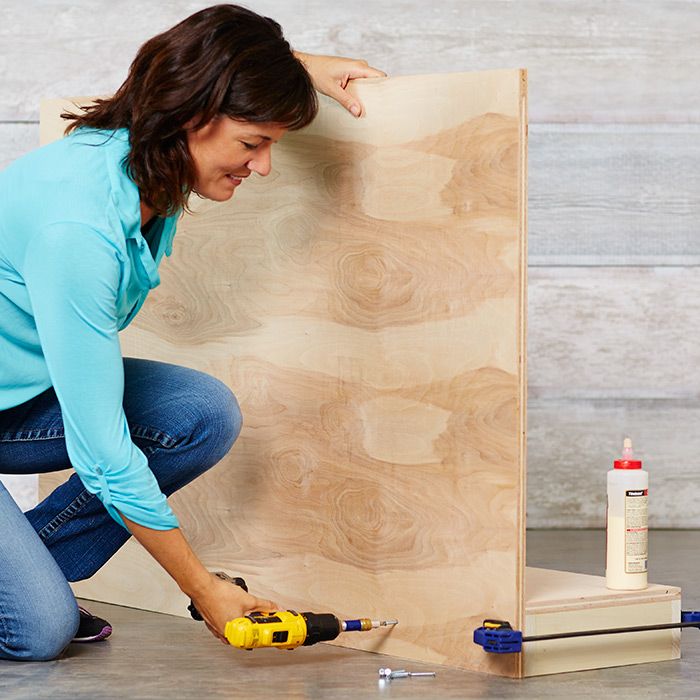
Attach the bottom to the base frame using glue and screws. Drill a countersunk pilot hole to avoid splitting the wood before driving each screw. With the bottom attached, secure the back to the base. Apply glue to the back base rail, then clamp the back in position and secure with screws.
Good to Know
The architectural interest of the end panels is achieved by nailing a few boards to a sheet of plywood with another piece of thin plywood set in the middle for a dramatic look. Cut each part to fit as you go, working with one board at a time; the process is easier than it looks.
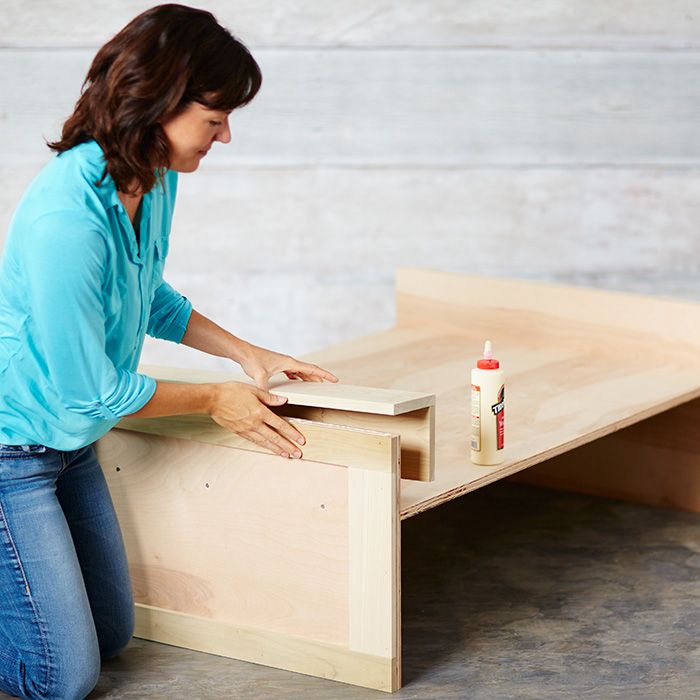
Cut 1/2-inch-thick boards for the end stiles (F) -- the vertical members of a panel -- to match the height of the ends (Project Diagram, Drawing 2). Apply glue to one stile and nail it to the plywood so the edges and the top and bottom are flush. Next cut the two end rails (G) -- the horizontal members of a panel -- to length. Test the length by placing the remaining stile against the end of the rails. If the stile overhangs the plywood, the rails are too long and need to be trimmed.
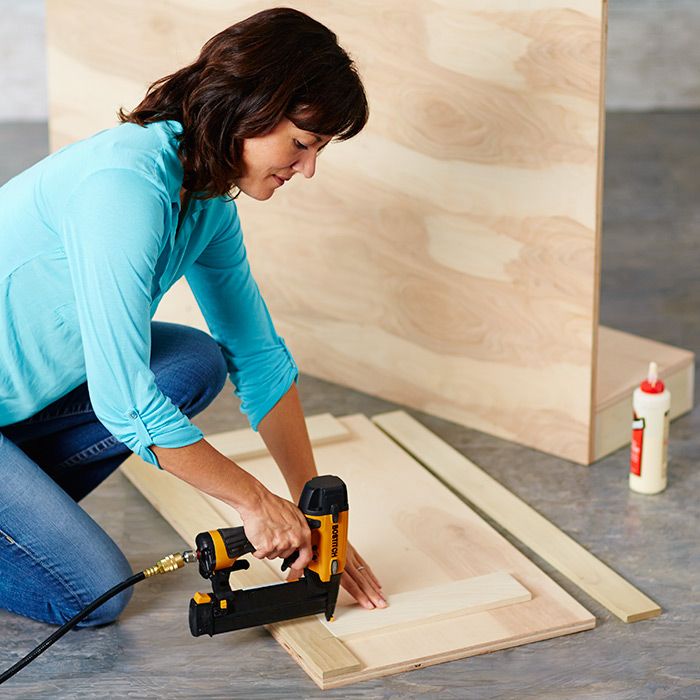
Glue and nail the rails to the plywood end panel. The top rail is even with the top of the panel. The bottom rail is located 3 inches above the bottom of the panel. The base trim will cover this space. Fasten the remaining stile, and repeat for the other end assembly.
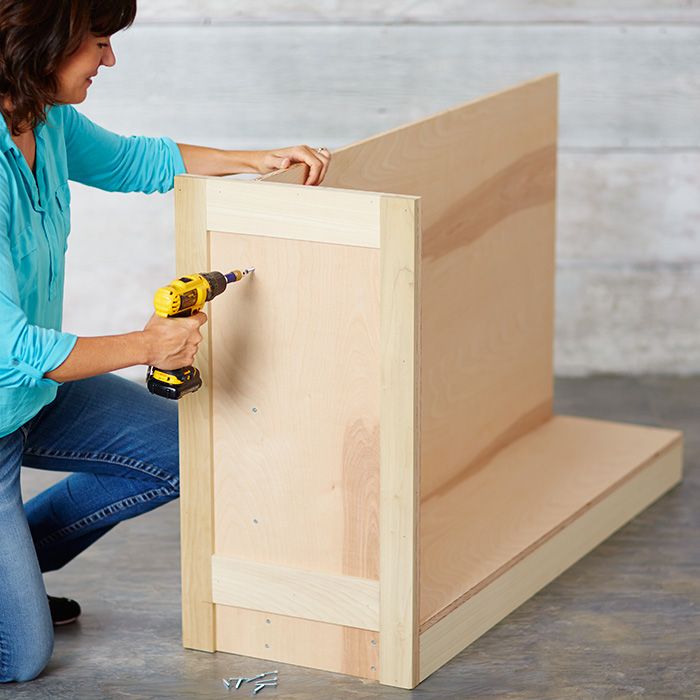
Stand the ends upright and attach to the base/back assembly. Drive screws in the open area at the bottom of the side below the bottom rail and in the area that will be covered by the end panel (K). This reduces the number of fasteners that will require wood filler. When securing the top portion of the end to the back, verify that the back is standing vertical and not bowed, this may cause the cabinets to not fit properly.
Trim the Island
Good to Know
Lay the island on its face and attach a 1 x 6 half plaster assembly to the cabinet ends. Stand the island up and drive screws through the back into the adjacent pilaster. Add the second pilaster assembly to the opposite end of the island.
Cut a 1 x 4 front rail (I) to match the overall length of the island. Glue and nail the rail with the ends even with the outside faces of the end stiles (F) and the top edge flush with the top of the plywood bottom (C).
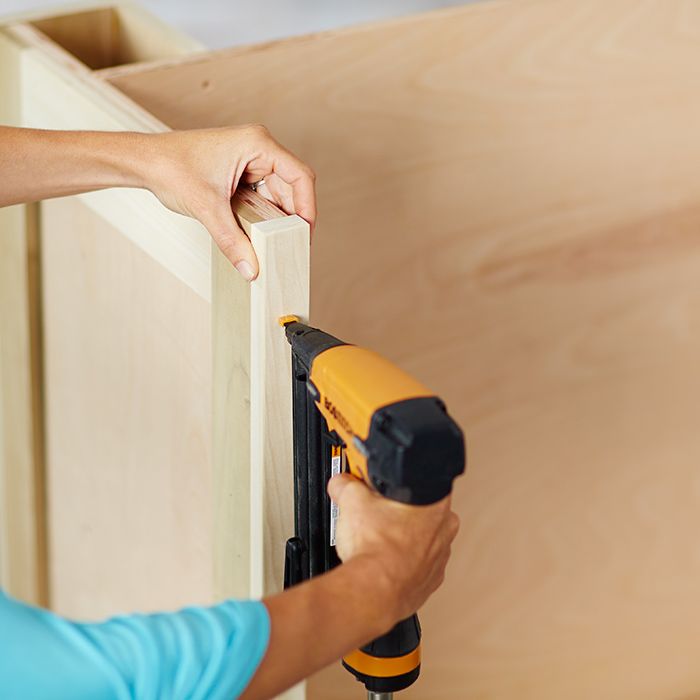
Cut two 1 x 2 boards for the corner stiles (J) to match the height of the side assemblies. Glue and nail the stiles to the front of the ends (Project Diagram, Drawing 3).
Remove the doors from the pre-assembled cabinets and sand both the doors and front frame. Apply glue to the back of the cabinet and to the edge of the face frame that fits behind the corner stiles and against the ends. The slight overhang of the corner stile will conceal any gap between the cabinet and the side of the island.

Cut a scrap of wood to 1/2 inch in length. These spacers support a panel (K) centered vertically in an end opening while you glue and nail it in place. Repeat for the opposite end.
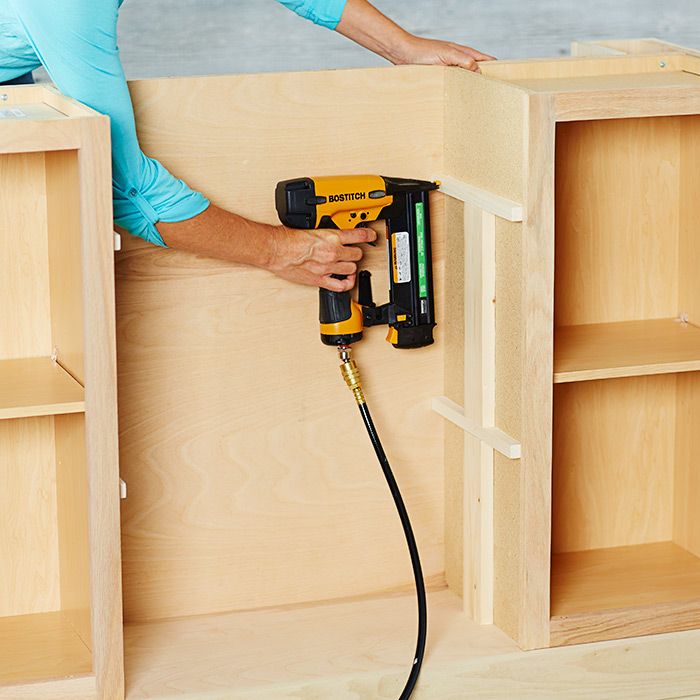
Cut four 3/4-inch square dowels 11-1/4 inches long for the shelf cleats (L). Glue and nail them in place (Project Diagram, Drawing 3) and attach with glue and nails. The key to setting the cleats at the same height so the shelves are level is to cut scrap boards 11 inches long, rest one on the bottom (C), and then glue and nail a cleat while it rests on a spacer. Move the spacer up to position the next cleat, and repeat for the opposite side. The cleats can be positioned at whatever height you need to custom-fit your storage needs.
Cut two shelves (M) to fit between cabinets. Trim the 1 x 12 boards so they are 1/8 inch shorter than the length of the opening between the cabinet sides. This will allow the shelves and cabinet to be painted separately and the shelves to be installed later.
Cut a miter on each end of the base trim (N) so it fits between the pilasters. Glue and nail the trim even with the bottom of the cabinet (Project Diagram, Drawing 4).
Good to Know
The base you choose will set the style for the project. You can choose something bold or something simple -- even a 1/2-inch-thick board 3-1/2 inches tall with a top edge sanded very smooth. Select a trim that is 3-1/4 to 4-1/4 inches tall.

After the back trim is in place, cut a miter on both side pieces to wrap the pilaster. Hold the trim in place, mark the corner, and then cut it to length. Repeat for the other side.
Finish and Install
Lightly sand the entire cabinet with 220-grit sandpaper and fill any nail holes with wood filler. Allow the filler to dry and lightly sand again; you can now apply a primer and two coats of semigloss paint, sanding between coats with a 220-grit sanding sponge. Paint the island, the shelves, and the base shoe.
Set the island in position in your kitchen and install the base shoe to conceal any gap between the island and an uneven floor.
Fill any nail holes in the base shoe and touch up the paint. Apply a few beads of silicone adhesive to the top of the ends and the back, then rest the countertop in position. Add the doors and shelves after the adhesive cures.
Share with a friend
